Thursday, October 27, 2011

Paper Distressing - Sanding

I know, I know. We're DAYS away from Hallowe'en and all the Betties are posting fantastical Hallowe'en crafts. Which are FABULOUS; I am in awe of my fellow Betties' creativity! And, honestly, looking forward to making some of these with my kiddo over the weekend!  Buuut...I'm not going to do a Hallowe'en-themed post.   

GASP!

I KNOW, I know. I'm horrible.

But I wanted to show you one of my most absolute FAVOURITE techniques. SANDING! It's a fabulous distressing technique aaaaaaand I use it all the time.

Before you get started you need to make sure your cardstock has a white core. You can tell by looking at the edge - if there's white, you're good to go.
 Not all cardstocks have this absolutely FANTASTIC perk, though, so be mindful of it when you're at the stores.

white core cardstock
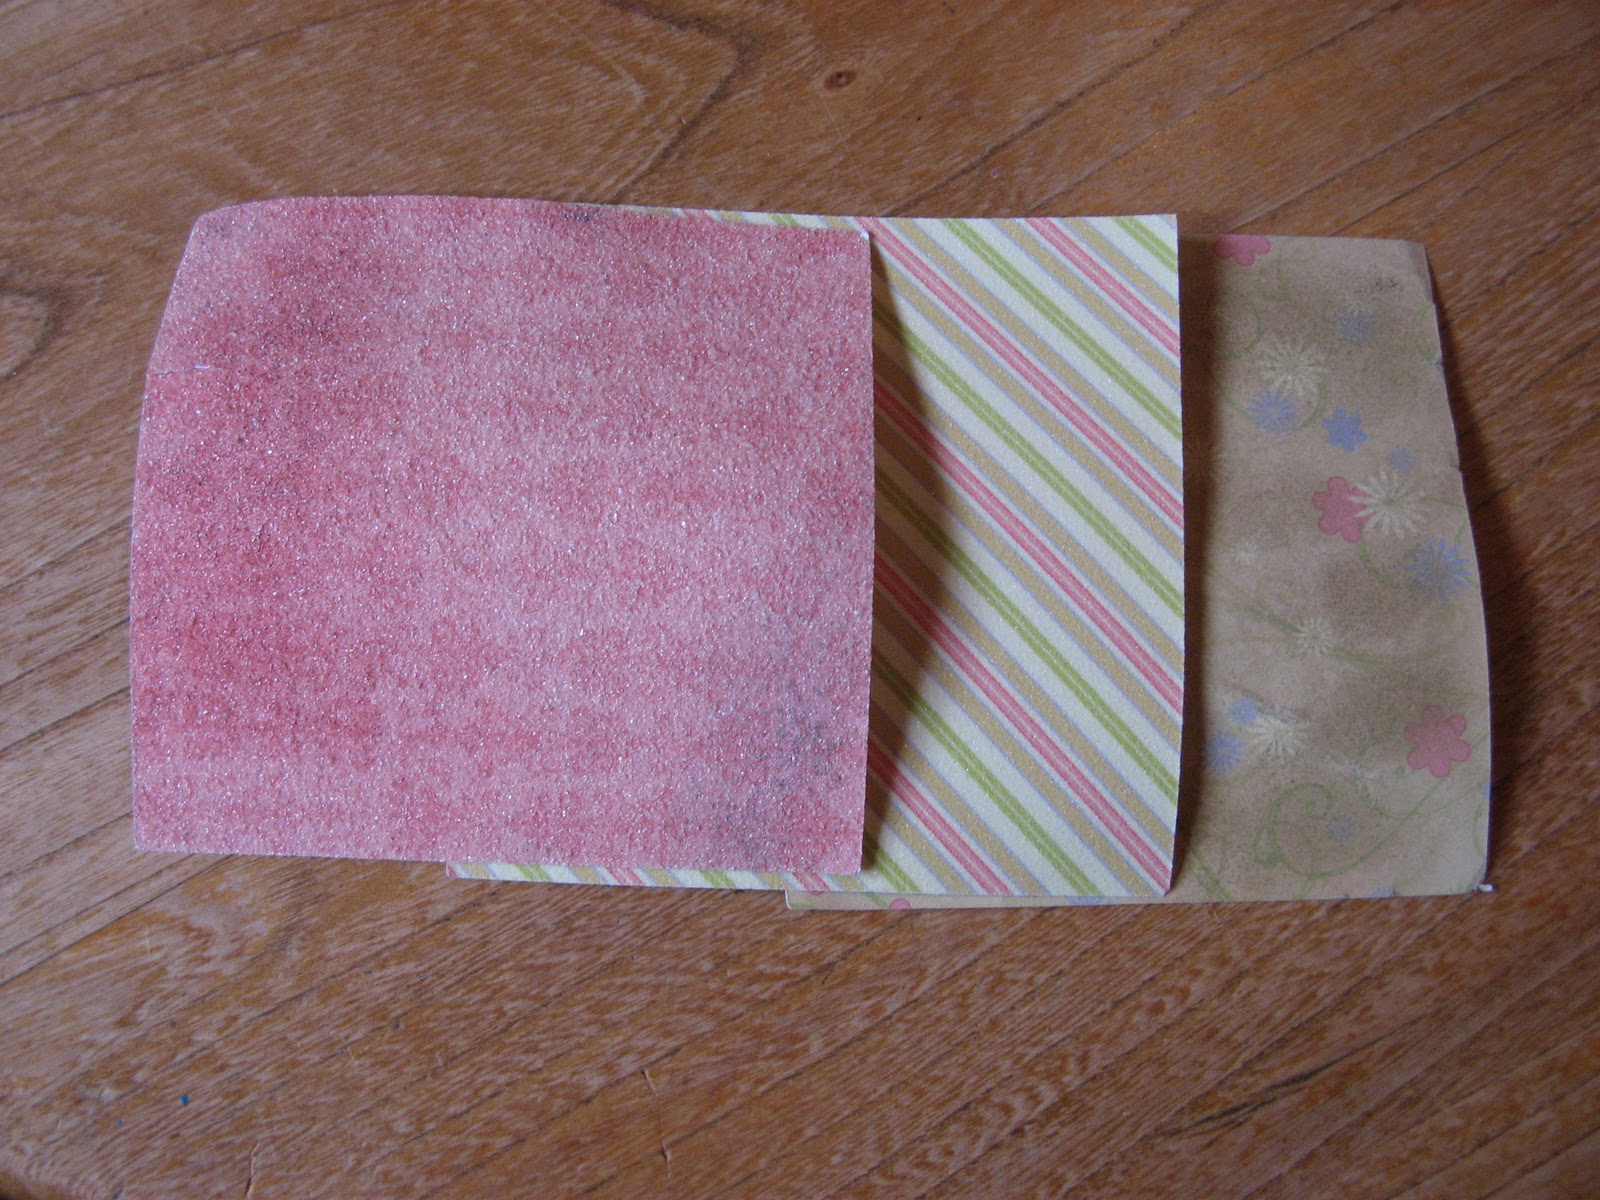
Then, obviously, you need some sandpaper.  (I use the three fabulous grains from Close To My Heart's sanding kit; love it).

dunno why this uploaded upside down... whoops! But 220, 100, and 60 grain papers
Coarse, medium, and fine... all well loved!
Also, you'll need to work on a surface you're not overly fond of, and I DEFINITELY recommend scratch paper to protect whatever surface you are on.
Base of my card, ready to go!
For this, I used my COARSE (60) paper.  And then I've sanded applying pressure in only one direction - it gives a sort of lined/striped look...

Once finished THAT, go back across the other way, to make a thatched pattern.

Now, I'm all about efficiency (read: LAZY), so for this card, I'm only sanding two of the edges, 'cause that's all that's going to show. 

Okay, next, I'm sanding this fabulous buttercup circle, and I'm going to use my FINE (220) paper - this will make a much softer look, and actually makes the paper super smooth to the touch.
There's no real which-way to sand this - make circles, do lines back and forth, whatever.

I focused a bit more around the edges to soften up the shape. Resulting in:
voila!
And here's the finished card!  Sanded edges, softened yellow... I love sanding!
(Card pattern from Wishes: Card Confidence Program "Keep it Level")

Here are some other examples of straight sanding techniques I've done: 
Using medium (100) all over the card.
(Card pattern from Wishes, "Lucky Layers")
Coarse sanding just the edges...
(Card pattern from Wishes, "Collage")
...results in this fabulous look!

Sanding the base-pages and photo mats around the edges with fine grain, coarse-grain hatching on accent pieces, and finally light sanding with coarse paper around the edges of the pictures themselves.
The result being some extra depth and dimension to this adorable page (layout from Cherish but I can't tell you which one 'cause I sold my copy and haven't got a new one yet! At least my kid's cute, right?)

And that, my friends, is that! A brief introduction to your next favourite technique! I'll expand on it in another post - you can do some seriously fun stuff with an embossing stylus, paperclips, shapes, and your sanding kit, but for now get a feel for it, fall in love, and happy crafting!

Cheers!
*Red

Monday, October 24, 2011

Halloween Paper Pumpkin


Its Halloween  time and seems like everyone are thinking about that, so i'm too. And one more time papers can help in your decoration. You can make a lot of paper pumpkin, and use onother materials to improve this simple ideia.

To start the only thing that you'll need is  paper and glue.

First you  have to glue the paper strips together forming a circle

Then join the ends to form your pumpkin


And now you can decorate with everything that you can find at home!!! Happy Halloween everyone!!

Thursday, October 20, 2011

Halloween Spider Craft for Kids

Spider Craft for Kids using Recycled Egg Carton
Kids love to make crafts as much as their parents do. This craft especially draws out the giggles because children are making a creep-crawling spider from a recycled material everyone is familiar with: the cardboard egg carton!

Although good for all ages, my children (all 5 years-of-age and younger) had some difficulty with scissors and the whole punch. I made notes of when a particular step should be done by an adult... hopefully to make your life easier while making this otherwise kid-friendly craft.


Spider Craft for Kids Ingredients
Craft Ingredients (See Picture):

* (1) 12-count (or HIGHER!) cardboard Egg Carton
* (1) Tube of water-based Black Paint
* (1) Paint Brush for each child
* (4) Black fuzzy Pipe Cleaners for each spider
* (1) Pair of Scissors
* (1) Hole Punch or other paper-piercing tool
* (1) Pair of Wire Cutters (optional)


Directions:

 1.) Cut out each individual egg-holding shell from your recycled cardboard egg carton. This can be tricky, so if you kids still have difficulty with their fine motor skills, this should be done by an adult. Once every shell is cut out, trim the bottom of the shell so that it sits evenly on a flat surface.

Punched Leg Openings
2.) Using a hole punch (another prep-work item for an adult with strong hands) or other sharp paper piercing tool, make four openings on two opposite sides of the egg shell for the legs of your future creep-crawling black spider.

3.) Paint your favorite shade of color, though I most certainly recommend BLACK paint... makes the craft project for kids (and adults!) more entertaining and creepy. Wait 30 minutes to 1 hour to dry.

The Belly of the Beast
4.) Time to make the legs! Take four black fuzzy pipe cleaners and, using your scissors or wire cutters, cut the pipe cleaners in half. Now you should have eight black fuzzy pipe cleaners for the eight spider legs. Bend each leg in half making an upside down letter "V". For a little bit of fun,  make a "foot" on one side of each letter "V"  by bending a small amount of pipe cleaner to the side.

5.) Insert all black fuzzy pipe cleaners into each leg opening. Twist two side-by-side pipe cleaners together on the inside of the shell of the recycled egg carton to hold the legs in place. Turn your new spider right-side-up and adjust legs. Place in any nook in your home that needs a little more creepiness this Halloween holiday season. If the kids didn't have enough enjoyment from making the spiders, this step can be particularly fun as they prepare to scar their family and friends.


Finished Spider Craft for Kids