GASP!
I KNOW, I know. I'm horrible.
But I wanted to show you one of my most absolute FAVOURITE techniques. SANDING! It's a fabulous distressing technique aaaaaaand I use it all the time.
Before you get started you need to make sure your cardstock has a white core. You can tell by looking at the edge - if there's white, you're good to go.
Not all cardstocks have this absolutely FANTASTIC perk, though, so be mindful of it when you're at the stores.
 |
| white core cardstock |
 |
| dunno why this uploaded upside down... whoops! But 220, 100, and 60 grain papers |
 |
| Coarse, medium, and fine... all well loved! |
 |
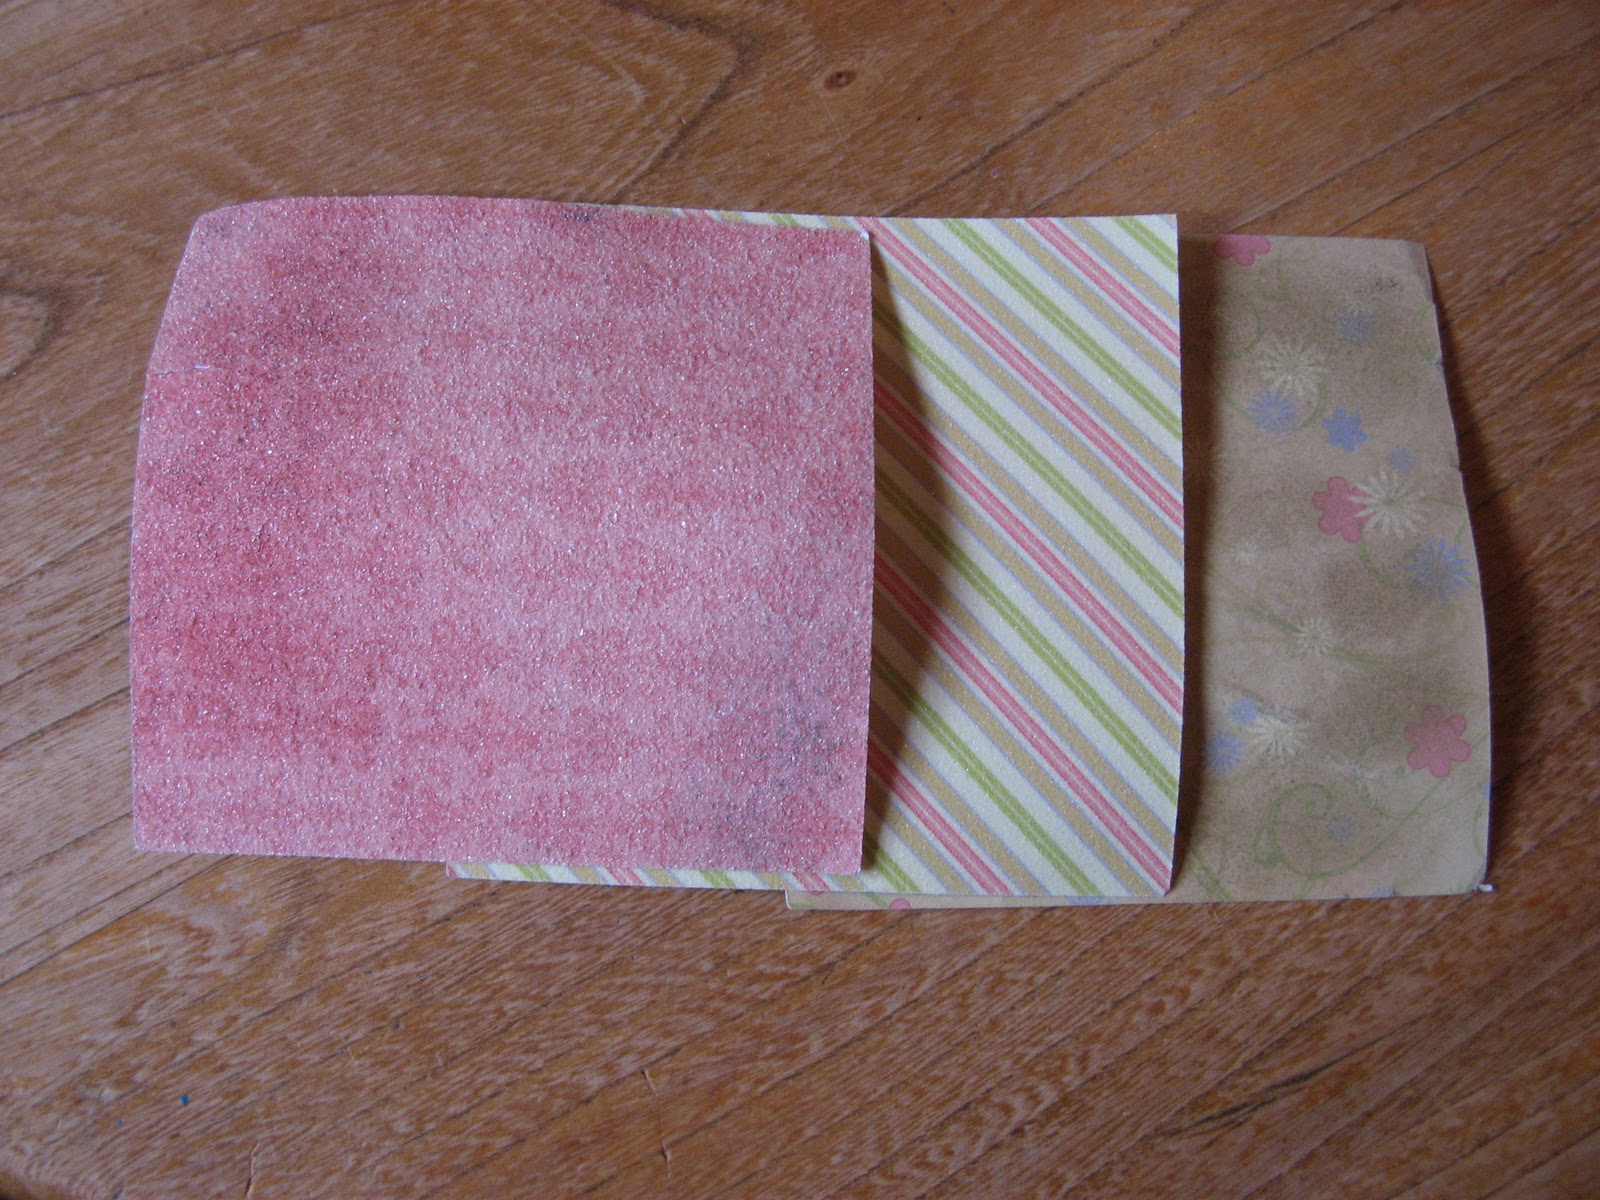
| Base of my card, ready to go! |

Once finished THAT, go back across the other way, to make a thatched pattern.

Now, I'm all about efficiency (read: LAZY), so for this card, I'm only sanding two of the edges, 'cause that's all that's going to show.


 | ||
| voila! |
 |
| (Card pattern from Wishes: Card Confidence Program "Keep it Level") |
 |
Here are some other examples of straight sanding techniques I've done:
 |
| Using medium (100) all over the card. (Card pattern from Wishes, "Lucky Layers") |
 |
| Coarse sanding just the edges... (Card pattern from Wishes, "Collage") |
 |
| ...results in this fabulous look! |
 |
| Sanding the base-pages and photo mats around the edges with fine grain, coarse-grain hatching on accent pieces, and finally light sanding with coarse paper around the edges of the pictures themselves. |
 | ||||||
| The result being some extra depth and dimension to this adorable page (layout from Cherish but I can't tell you which one 'cause I sold my copy and haven't got a new one yet! At least my kid's cute, right?) |
And that, my friends, is that! A brief introduction to your next favourite technique! I'll expand on it in another post - you can do some seriously fun stuff with an embossing stylus, paperclips, shapes, and your sanding kit, but for now get a feel for it, fall in love, and happy crafting!
Cheers!
*Red
I love it! Can't wait to try this, though I think you might do a better job than I could... do you want to make my Christmas Cards for me this year? I only need 75. :)
ReplyDelete